Introduce Sentry SDK to Your Frontend Code
In this tutorial, you import the React demo code into your local development environment, add the Sentry SDK, and initialize it.
If you're using your own source code, you can skip this section and either:
- Follow the instructions on Getting Started for your platform. You can select the desired platform.
- Go directly to the next step.
Prerequisites
The demo app source code requires a NodeJS development environment to install and run the application. Make sure that you have the following in place:
Step 1: Get the code
Open the "frontend-monitoring" sample code repository on GitHub.
Click "Fork" and select the target GitHub account you wish this repository to be forked in to.
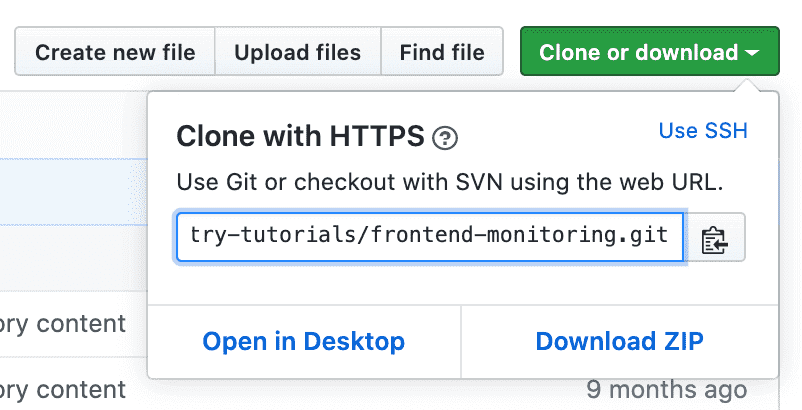
Once the fork is complete, click "Clone or download", and copy the repository HTTPS URL.
Clone the forked repository to your local environment.
Copied> git clone <repository HTTPS url>Now that the sample code is available locally, open the "frontend-monitoring" project in your preferred code editor.
Step 2: Install the SDK
Sentry captures data by using a platform-specific SDK within your application runtime. To use the SDK, import and configure it in your source code. The demo project uses React and Browser JS. The quickest way to get started is by using the CDN hosted version of the JavaScript browser SDK, however, you can NPM install the browser SDK as well.
Open the
index.htmlfile (located under_./frontend-monitoring/public/_).Notice that we import and initialize the SDK as early as possible in our code. When initializing the SDK, we provide the desired configuration. The only mandatory configuration option is the DSN key, however, the SDK supports multiple other configuration options. Learn more in our Configuration documentation.
In the Sentry SDK configuration, enter the
DSNkey value you copied from the project created in the previous steps.CopiedSentry.init({ dsn: "<PASTE YOUR DSN KEY HERE>", });
Step 3: Install and run the demo app
To build and run the demo application on your localhost:
Open a shell terminal and change directory to the
frontend-monitoringproject folder.Use the
.nvmrcfile to set the Node version compatible with this project. Run:Copied> nvm useInstall project dependencies by running:
Copied> npm installBuild, deploy, and run the project on your localhost by running:
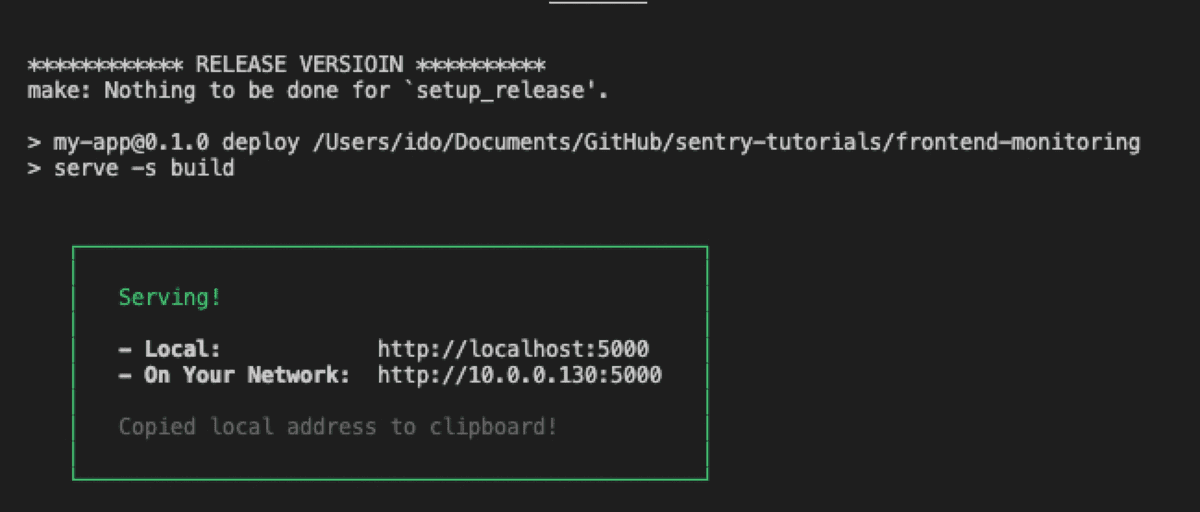
Copied> npm run deployOnce the deploy finishes successfully, you'll see the confirmation in your terminal.
Next
Our documentation is open source and available on GitHub. Your contributions are welcome, whether fixing a typo (drat!) to suggesting an update ("yeah, this would be better").


